

If you plan to transfer your Apple Music to an external flash drive, choose a USB flash drive, the most portable storage. After saving iTunes songs to a USB stick, you are able to stream your iTunes library on smart audio speakers or car media player, make a backup for your tunes, and so on. But the question is, how to import the Apple Music playlist into a USB memory stick? Read on and we will discuss some confusion around it.
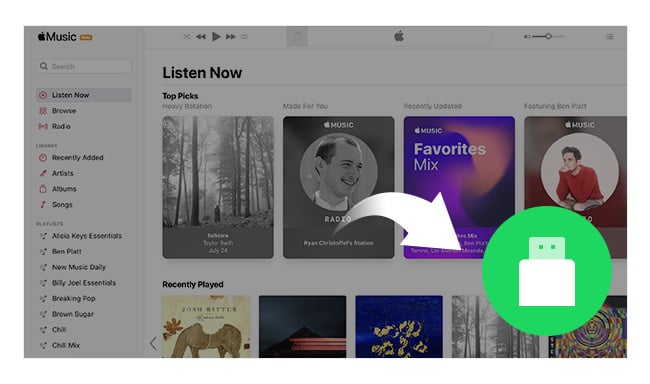
By default, the iTunes music files are stored in the folder of "Music\iTunes\iTunes Media" on Windows PC, and "Home/Music/" on macOS system. You could change the file location if needed.
You can now access the so-called downloaded Apple Music files easily, however, none of these files can be used outside the iTunes app. They are made in encoded AAC, M4P, or ALAC format. It means you cannot directly transfer the "downloaded" Apple Music to USB drive for streaming.
Since you are not allowed to move iTunes songs to USB drive straightforward, a third-party tool comes in handy -- NoteBurner Apple Music Converter. It's an audio recorder used to download and convert any Apple Music Song, podcast, iTunes M4P music, and audiobook to plain formats, like MP3, AAC, AIFF, etc. After downloading iTunes audios to computer as local files, transferring them to USB stick is just one step away.
Next, we will demonstrate the detailed steps to use NoteBurner Apple Music Converter to download iTunes songs and save them to USB flash disk easily.
Download and install NoteBurner Apple Music Converter on your Windows or Mac computer and choose to download songs from the "iTunes App". Then launch it and you'll get the interface as below.

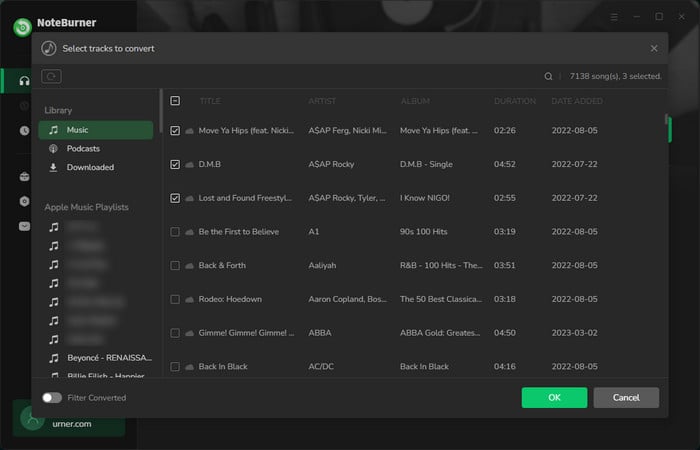
Click the button "+ Add" to add music, it will show all of the songs or playlists in your iTunes library. Choose the tracks or iTunes audio files and click OK.
Click the "Settings" icon on the bottom left. Here you are able to choose the output format (MP3/AAC/WAV/FLAC/AIFF/ALAC), the output quality, output path, and so on. Besides, you can also customize how you'd like to name and sort out the converted iTunes files.

After completing the above steps, click the "Convert" button and NoteBurner will immediately start downloading your iTunes library to computer locally.
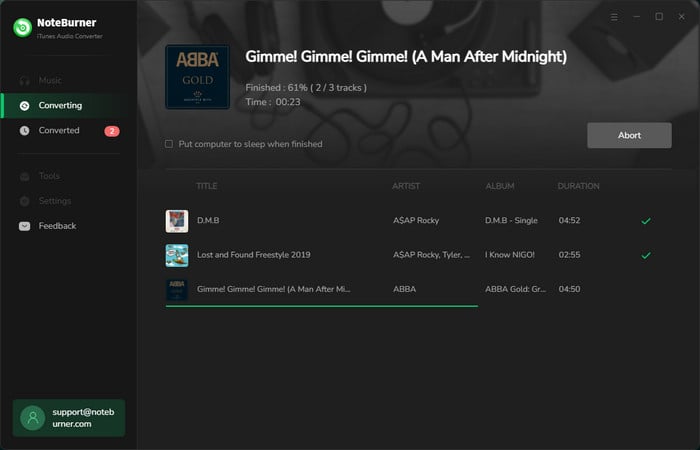
Once the conversion is done, click the "History" tab and you can check all the iTunes songs that have been converted successfully. Click the "Folder" icon beside the music and you'll be directed to the downloaded audio files of Apple Music.
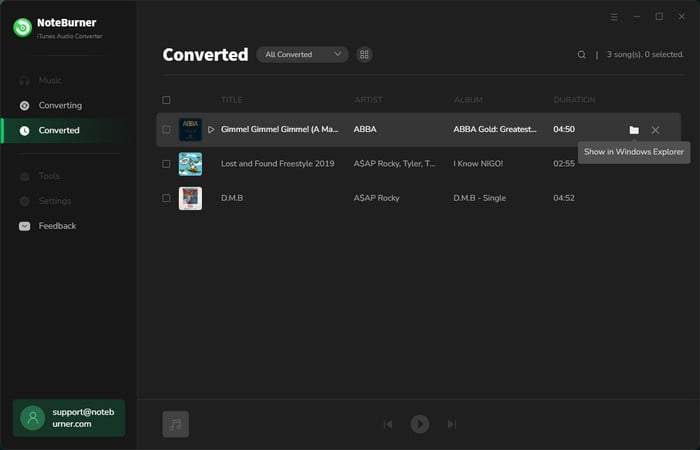
Simply connect your USB flash drive to computer and navigate to the relevant folder of your external USB drive, and then just directly drag & drop the Apple Music to your USB flash drive as you want.
Now you've stored the Apple Music files into the flash drive, but can you save them there forever even after the subscription is closed? Definitely! All in all, as long as you've recorded Apple Music via NoteBurner, you can easily stream any songs from Apple Music anytime anywhere.
Tips: Lost important data on your USB drive? This Syncios Data Recovery tool can help you restore everything with ease.
Apple Music is encrypted in AAC, M4P, or ALAC format, so that you can only enjoy then within its app. But with NoteBurner Apple Music Converter, you can convert the Apple Music songs into open-source format and then save your whole iTunes library to USB drive easily!
Tips: You can only convert the first 1 minute of each audio with the free trial version. Please buy the full version to unlock its limits.
 What's next? Download NoteBurner Apple Music Converter now!
One-stop music converter for Spotify, Apple Music, Amazon Music, Tidal, YouTube Music, etc.

Convert Spotify music songs, playlists, or podcasts to MP3, AAC, WAV, AIFF, FLAC, and ALAC format.

Convert Amazon Music to MP3, AAC, WAV, AIFF, FLAC, and ALAC with up to Ultra HD quality kept.

Convert Tidal Music songs at 10X faster speed with up to HiFi & Master Quality Kept.

Convert YouTube Music to MP3, AAC, WAV, AIFF, FLAC, and ALAC at up to 10X speed.

Convert Deezer HiFi Music to MP3, AAC, WAV, AIFF, FLAC, and ALAC at 10X faster speed.