

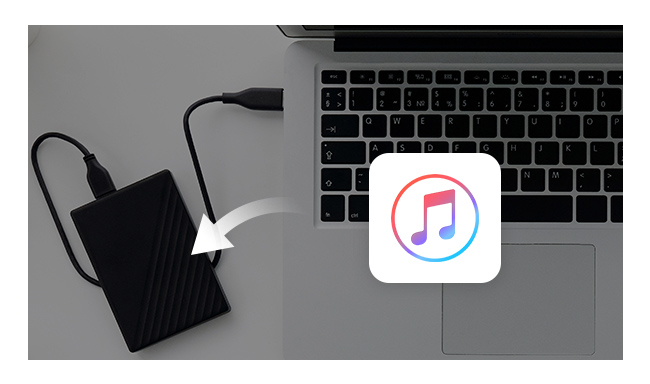
Your iTunes library, a database that's made up of all of the music and other media that you collect for years and add to iTunes. If something goes wrong with the library, all the information that you have saved in it may be destroyed instantaneously, lost forever. In order to avoid that kind of mishap, you should keep a backup copy of your iTunes library on any external hard drive.
Or you found that your Mac's hard drive is getting full, and iTunes library is taking up too much space, then you can move your iTunes library to an external hard drive to free up space. Here we introduce two methods to help you transfer your iTunes library to an external hard drive.
Step 1: Launch iTunes, click the menu bar "File" at the top of your computer screen or at the top of the iTunes window, then hover your cursor over "Library" in the dropdown menu, and select "Organize Library" from the secondary menu.

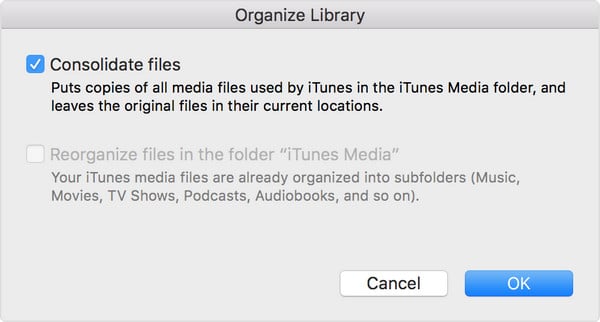
Step 2: Tick the box for "Consolidate Files" in the window that appears and click "OK".
Step 3: Quit iTunes and connect your external hard drive to your computer using a USB cable.
Step 4: Find your iTunes folder. By default, your iTunes Media folder is in your iTunes folder:
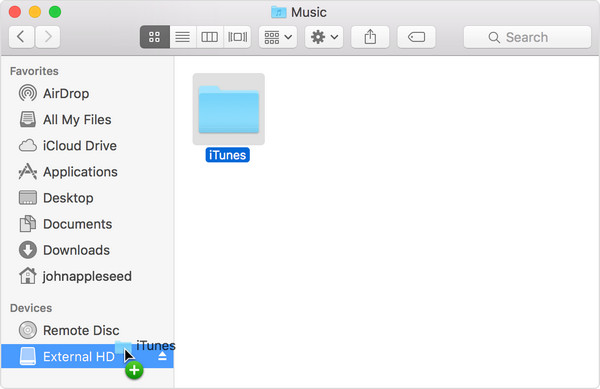
Step 5: Drag the iTunes folder from its location to an external drive. Your library and media files copy to the hard drive.
To move iTunes Library to External Hard Drive without any data lost, NoteBurner iTunes Audio Converter is the best tool to complete this task. And it supports to record Apple Music files, iTunes M4P music and audiobooks, and convert them to MP3, WAV, FLAC, AIFF, and AAC format at 10X faster speed with all ID3 tags and metadata saved. Then you can easily move them to an external hard drive and stream on any devices as you want, such as Android tablets, portable MP3 player.
The following part is a detailed tutorial about how to save iTunes Library to an external hard drive, please download and install NoteBurner iTunes Audio Converter on your Mac or Windows computer first before getting started.
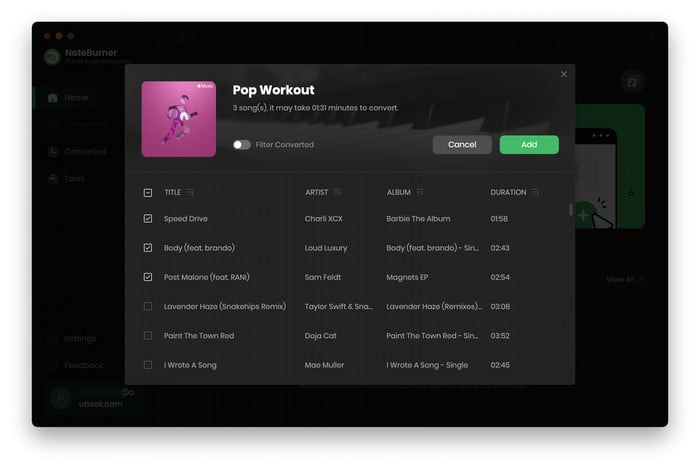
If you're a Mac user, please select "Apple Music web player" download mode. Open a playlist on the web player and click the button "+ Add" to add music, it will pop up a window, which will show you all of the songs from the playlist. You can choose any song you want to convert.
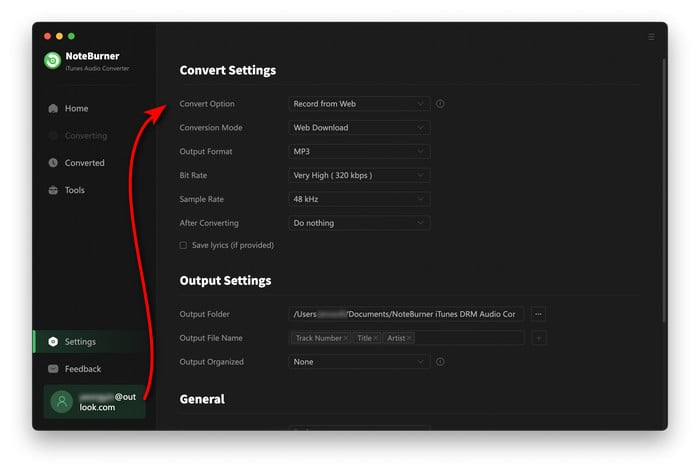
After the successful adding, please click the button "Settings" to choose the output format as you need, in the pop-up window, you can set output path, output quality, and output format including WAV, AAC, MP3, AIFF, FLAC, and ALAC.
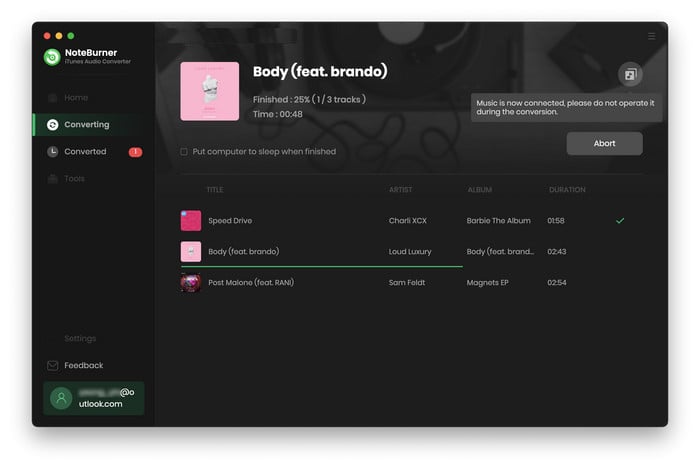
After completing the above steps, the final one is clicking the button "Convert". Just a few second, it will succeed.
Connect your external hard drive to your computer through USB cable. Open the output folder and then drag all of the converted files to it. This process could take upwards of an hour or two, depending on how much data you want to transfer.
Tips: Lost important data on your hard drives? This Syncios Data Recovery tool can help you restore everything with ease.
 What's next? Download NoteBurner Apple Music Converter now!

One-stop music converter for Spotify, Apple Music, Amazon Music, Tidal, YouTube Music, etc.

Convert Spotify music songs, playlists, or podcasts to MP3, AAC, WAV, AIFF, FLAC, and ALAC format.

Convert Amazon Music to MP3, AAC, WAV, AIFF, FLAC, and ALAC with up to Ultra HD quality kept.

Convert Tidal Music songs at 10X faster speed with up to HiFi & Master Quality Kept.

Convert YouTube Music to MP3, AAC, WAV, AIFF, FLAC, and ALAC at up to 10X speed.

Convert Deezer HiFi Music to MP3, AAC, WAV, AIFF, FLAC, and ALAC at 10X faster speed.